Replacing a surround
|
Gold Member Username: WingmanaliveA pic is worth 1000 posts!! Post Number: 6597 Registered: Jun-06 | So I bought Isaac's 12" Eclipse TI sub awhile back. It had a 3" tear on the surround. The tear didn't make it's way through the surround but was going to. 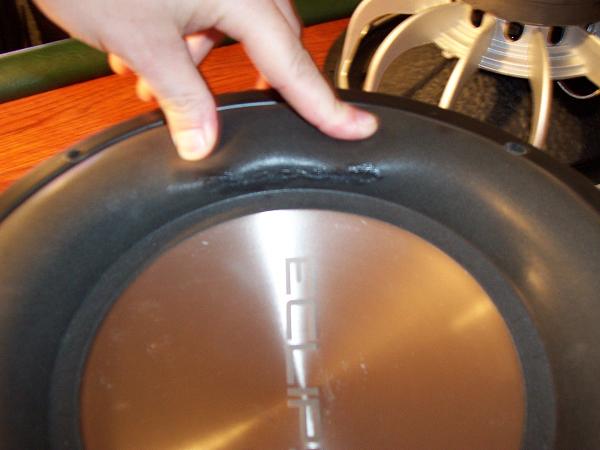 What next? It was going to get fixed one way or another. So thanks to Brad for suggesting http://www.speakerworks.net/kits.html They had excactly what I needed. I figured I'd show you guys how relatively easy it is to repair a torn surround. Kit has arrived. A pair of surrounds, glue, instructions and a brush. Why they sent me a pair of narrow surronds I have no clue, their mistake. Total cost of surrounds and kit: $48. 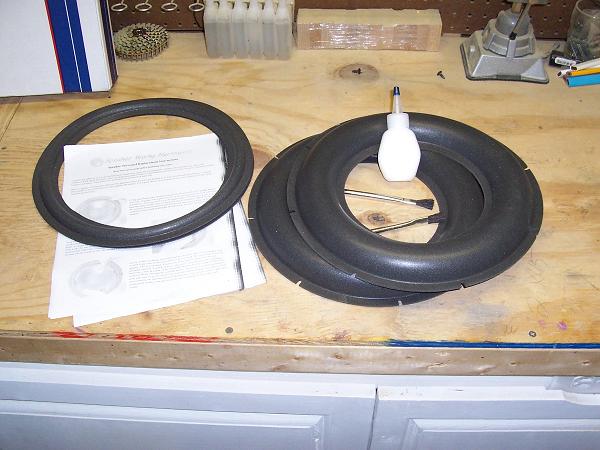 First order of business is to remove the old surround. It felt kinda weird taking a razor blade to the surround, like breaking a law or something. Lol. 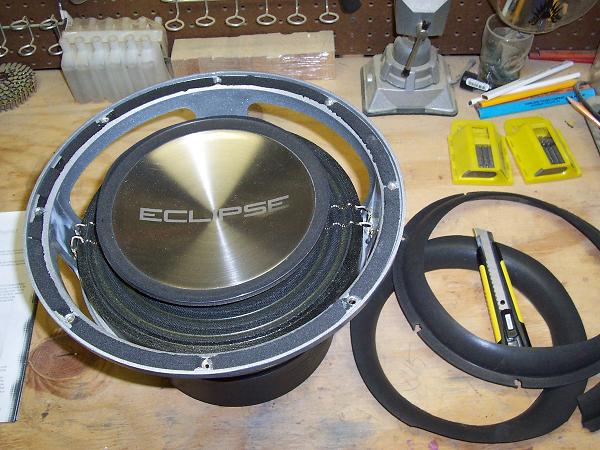 Next was to remove the remaining surround material from the basket. Tool of choice? Your hands. It takes some time and patience but you can "roll" it off in time with some pulling. I was concerned about damaging the basket and used a sharp chisel to help. Used Goof off to help clean up the basket. 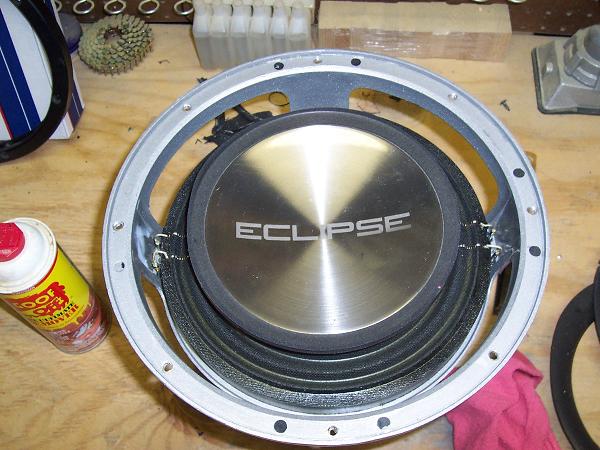 Next was to remove the old surround material from the cone. Obviously since this sub has a titanium cone this process was so much easier than if it were a paper or plastic cone. Same method, rolled it off using mostly my hands. Cleaned it up using Goof off as well. 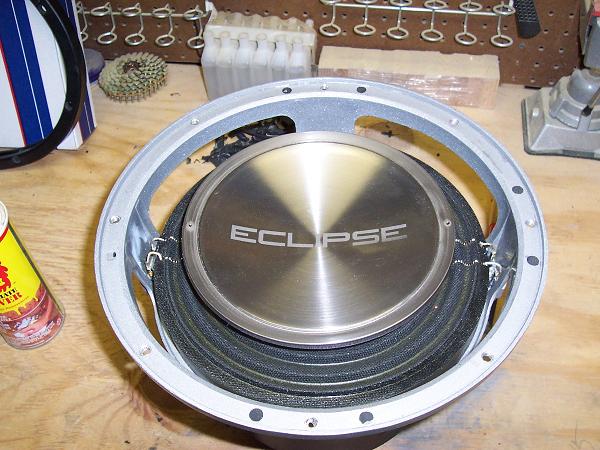 So now we dry fit the new surround to make sure it fits. It does. PERFECTLY! 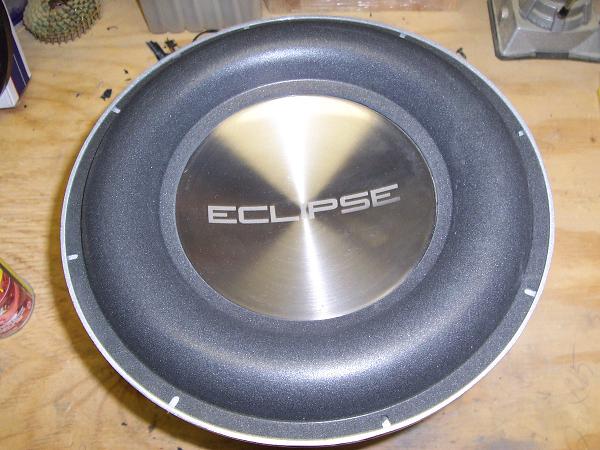 Now we raise the cone to accept the new surround. I raised it using a couple of aluminium bars. 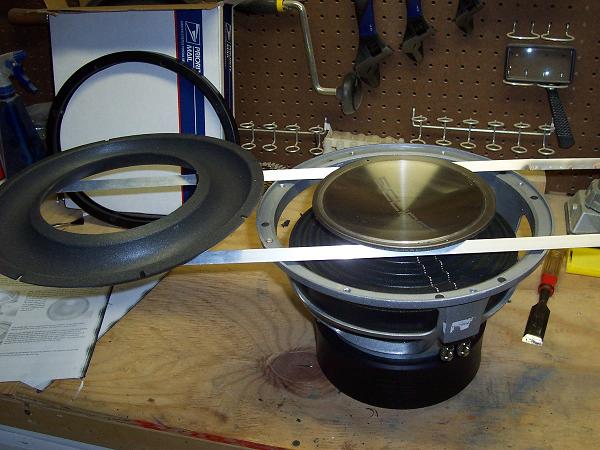 Now we start with the glue. Applying it both to the surround and cone. 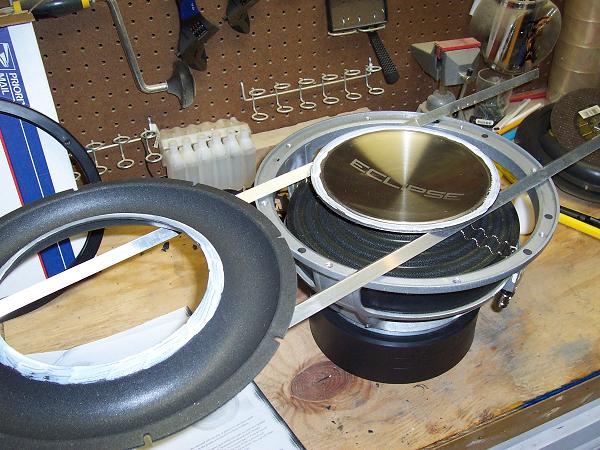 Once the surround is set it's important to apply pressure to the joint while it sets. I found an old masonry blade the perfect size and held it down with the best paper weights I could find. A pair of Pyramid royal reds. Who said they're worthless? Lol. 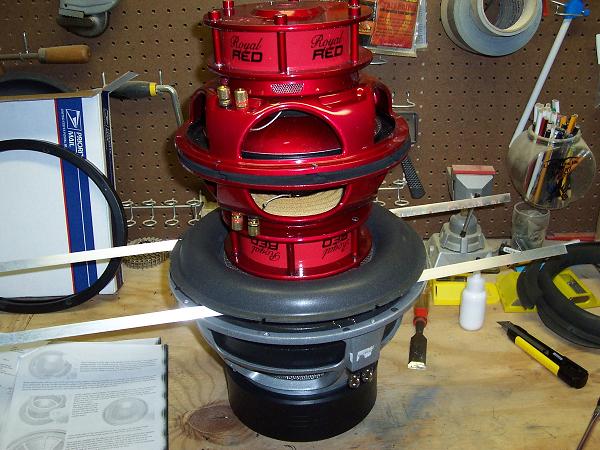 Once set I'm ready to glue the surround to the basket. It's important to center the surround/cone or you'll get the VC scratching the sides, a baaaad thing. I lifted the surround and applied the glue. 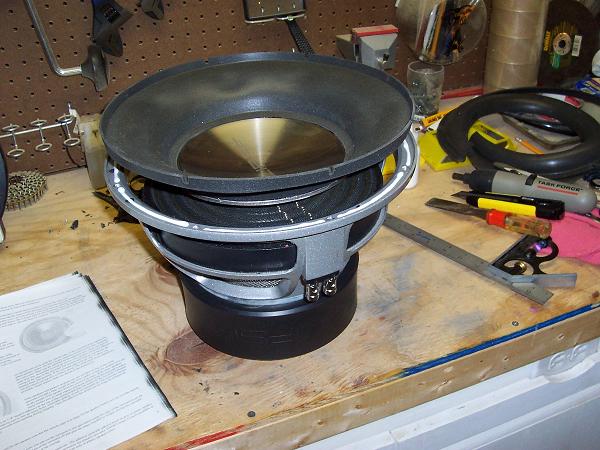 Now we firmly and uniformly clamp the surround to the basket. How did I find a way to do that? Well I grabbed an extension cord and used it in conjuction with many clamps to assure an even pressure along the surround. Worked for me. 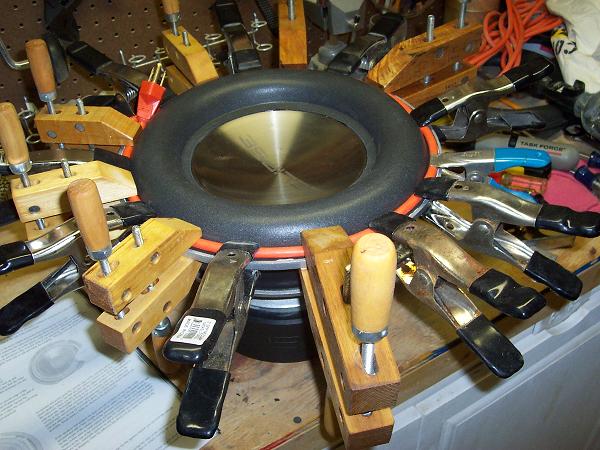 Removed clamps after several hours, cleaned up any excess glue. 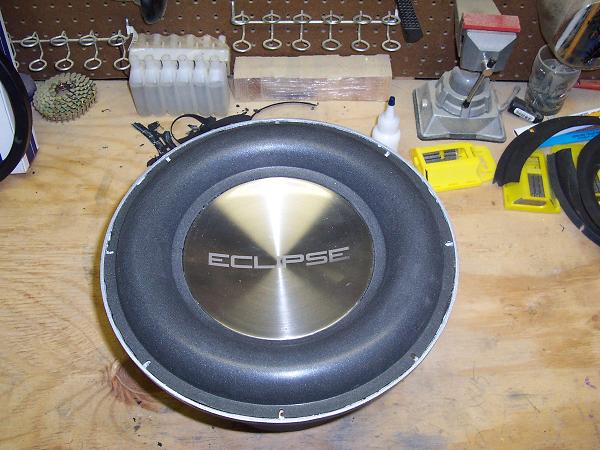 Replaced the rubber gasket and viola! 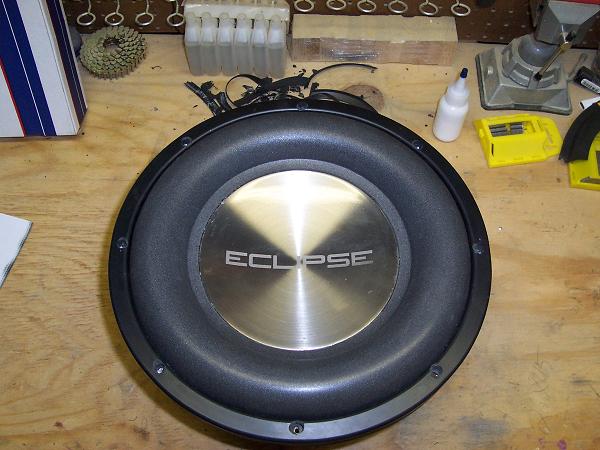 With just a little time and effort it wasn't very hard at all. A little patience and good hand skills and you're there.  |
|
Gold Member Username: Van_manBoston South, MA Post Number: 2406 Registered: Mar-06 | Nice job. Good infost too. |
|
Gold Member Username: Nyyfan13Fi SSD USA Post Number: 5106 Registered: Jul-06 | well done paul...good work |
|
Gold Member Username: Extrmndor3IF U HEAR ME... crazydbs.com Post Number: 4982 Registered: Feb-06 | ur the man dude... |
|
Gold Member Username: WingmanaliveA pic is worth 1000 posts!! Post Number: 6599 Registered: Jun-06 | I think I saved myself some $$. Eat your heart out Isaac.  |
|
Gold Member Username: Extrmndor3IF U HEAR ME... crazydbs.com Post Number: 4983 Registered: Feb-06 | damn paul i though u were worthless but now i see your worht at least 1 cent |
|
Gold Member Username: WingmanaliveA pic is worth 1000 posts!! Post Number: 6600 Registered: Jun-06 | For that you are exempt from participating in this summer's raffle for this "free" sub. Hope you're happy. |
|
Gold Member Username: Extrmndor3IF U HEAR ME... crazydbs.com Post Number: 4985 Registered: Feb-06 | a ur gon be like that paul?? u cant take any jokes??? but u always make fun of me and i let it go take alook at my kids tread seee..... and besides exempting me form the raffle is rude... |
|
Gold Member Username: WingmanaliveA pic is worth 1000 posts!! Post Number: 6602 Registered: Jun-06 |  Chill dude. I'm as relaxed as they come. |
|
Gold Member Username: The_image_dynamicSan Diego Post Number: 1354 Registered: Dec-06 | Great job Paul. I knew that the extra-wide surround would be perfect for that sub. Told ya that it wasn't hard to do |
|
Gold Member Username: WingmanaliveA pic is worth 1000 posts!! Post Number: 6604 Registered: Jun-06 | Yeah it seems the surround was made specifically for this sub. A perfect fit. Worked like a charm. No trimming at all needed. |
|
Platinum Member Username: RovinMy 1 12 Atom... Post Number: 11517 Registered: Jul-05 | sub looks so weird without its surround on -lol good job buddy ! ...... |
|
Silver Member Username: Mike11202DE US Post Number: 580 Registered: Nov-06 | NICE JOB |
|
Gold Member Username: OglejustPost Number: 1671 Registered: Aug-06 | wow looks new |
|
Gold Member Username: The_image_dynamicSan Diego Post Number: 1379 Registered: Dec-06 | Paul... like I said when I quoted you $27.95 for that repair -- the kit INCLUDES everything you received. That's why I asked you on TLD why it was so much more. You need to contact them and ask why they charged you so much extra. I almost wonder if they inadvertantly charged you for those two extra normal-width surrounds. "Surround Repair Kits Include: High quality new foam speaker surrounds. Detailed instructions with pictures demonstrating how to replace the speaker surrounds with or without removing the dust caps and shimming the voice coil gap. Special speaker adhesive. Artist's brush for applying the adhesive. Email and/or phone technical support". |
|
Gold Member Username: BernymacCambodian Post Number: 2758 Registered: Sep-04 | good tutorial paul. I'm sure you are pleased to know that it will be in my favorites :D. |
|
Gold Member Username: WingmanaliveA pic is worth 1000 posts!! Post Number: 6609 Registered: Jun-06 | I'll look into that Brad. I might be able to use those narrow surrounds on a pair of old Marantz speakers I have. I'm not disgruntled. All is good. All that matters is the Eclipse and her new lips. |
Main Forums
Today's Posts- Home Audio Forum
- Home Video Forum
- Home Theater Forum
- Car Audio Forum
- Accessories Forum
- All Forum Topics